
QQ扫一扫联系

准备需要开发的静态资源模板文件,结构可参考如下
└─ template/                  → 模板根目录
     ├─ static/               → 静态资源
     │    ├─ css/
     │    │    ├─ style.css
     │    │    └─ ......
     │    ├─ js/
     │    │    ├─ script.js
     │    │    └─ ......
     │    └─ image/
     │         ├─ image.jpg
     │         └─ ......
     ├─ show.html             → 详情
     ├─ list.html             → 列表
     ├─ tags.html             → 标签
     ├─ about.html            → 关于
     ├─ message.html          → 留言
     └─ index.html            → 首页
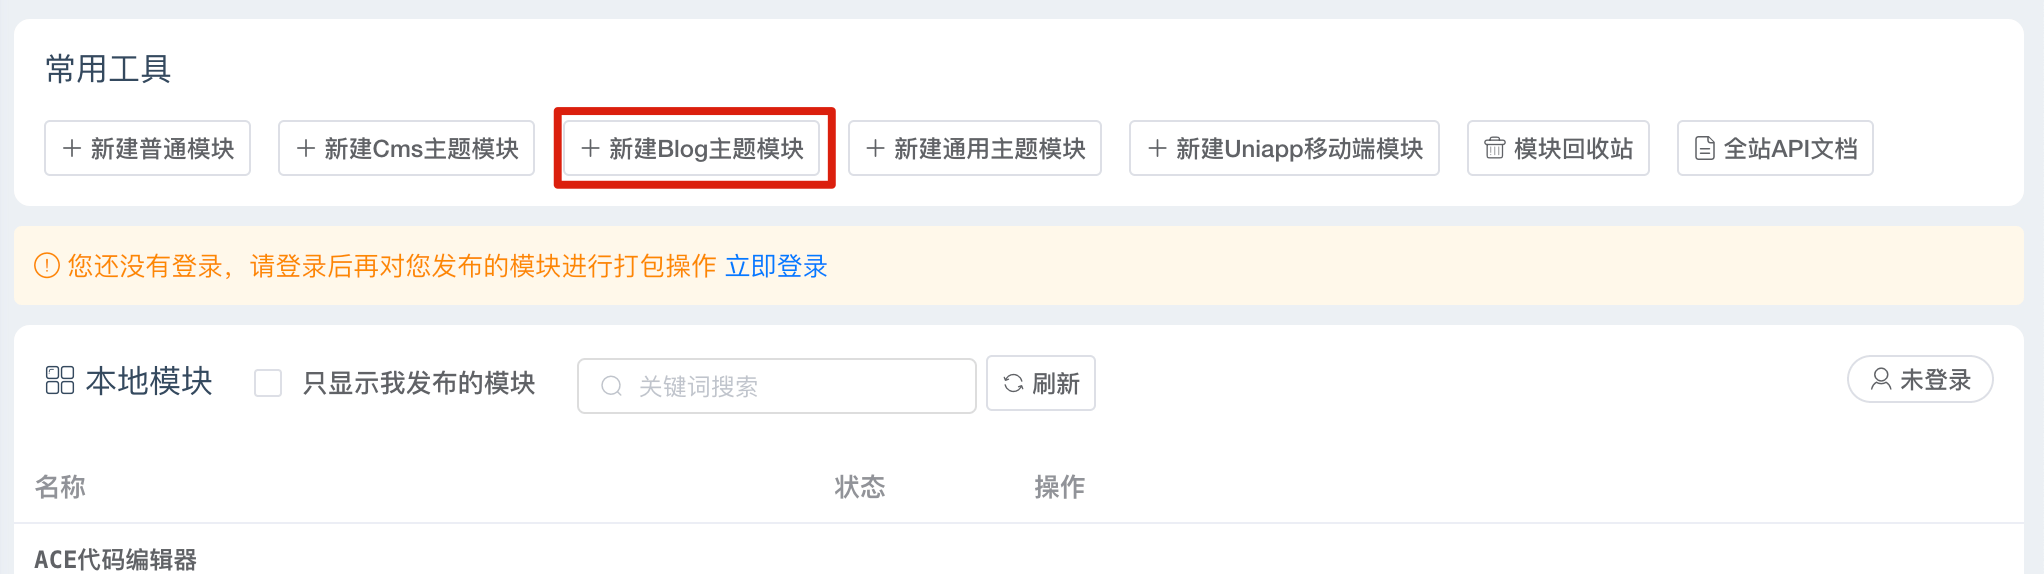
模块开发助手可以极大效率的提高开发效率,在 系统管理 → 模块管理 安装 模块开发助手 。
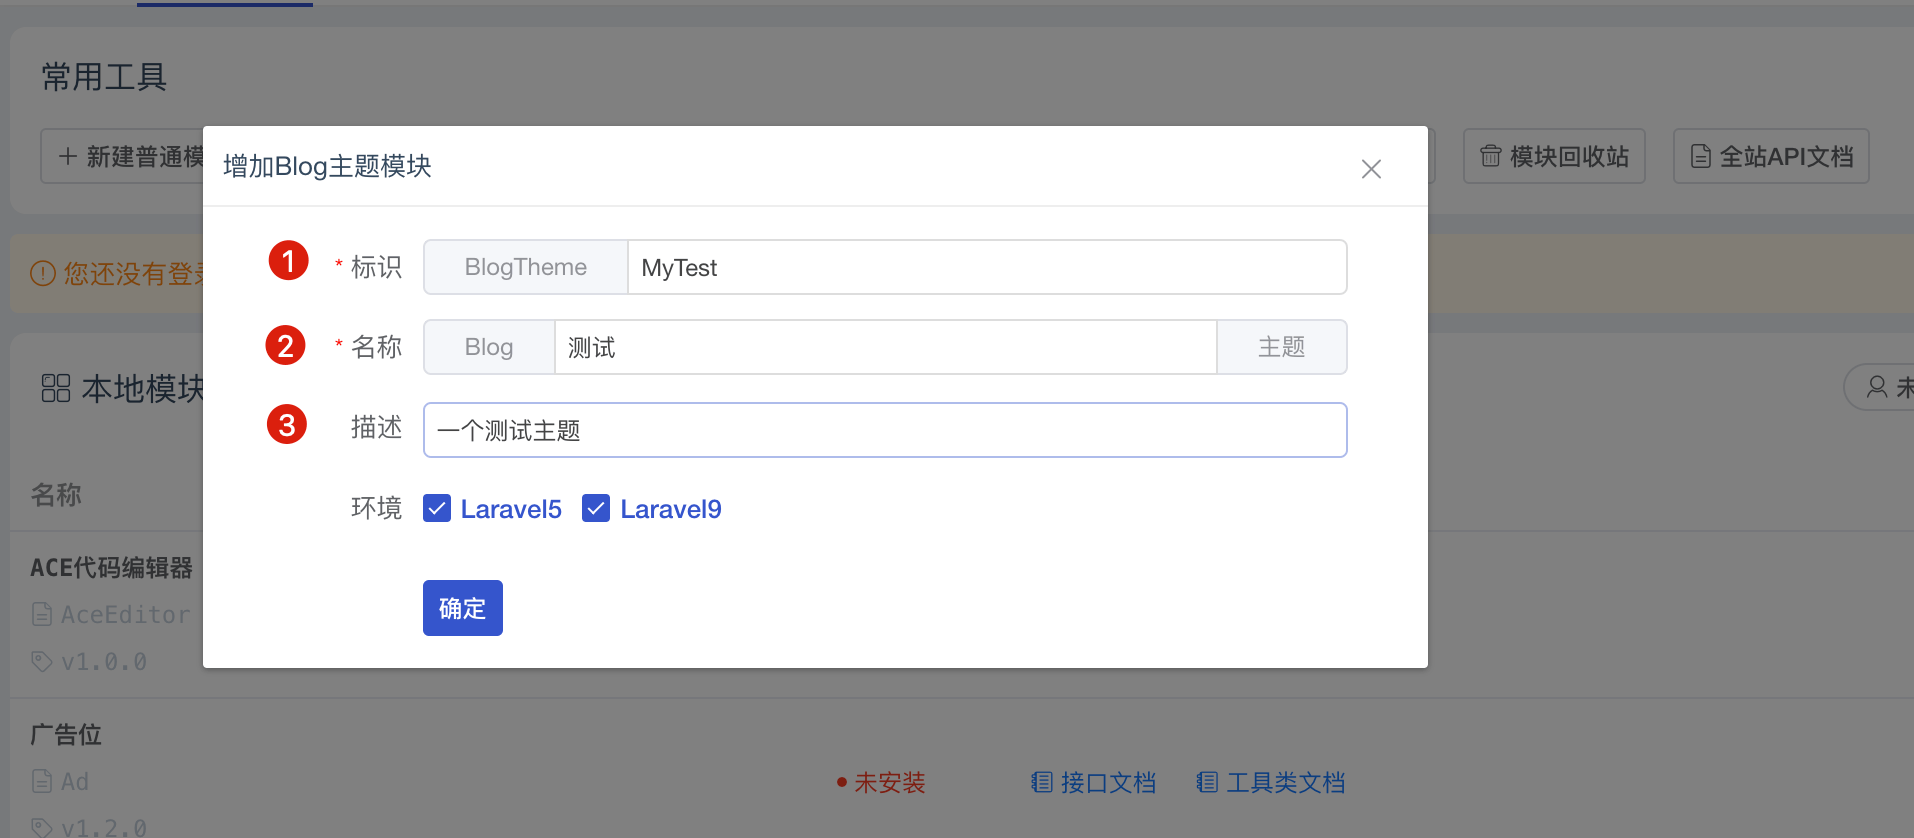
访问 系统管理 → 模块开发助手,通过常用工具创建模块
访问 系统管理 → 模块管理 → 本地模块,安装并启用模块。
以下教程以主题模块 BlogThemeMyTest 为例进行。
2.3.1) 复制静态资源
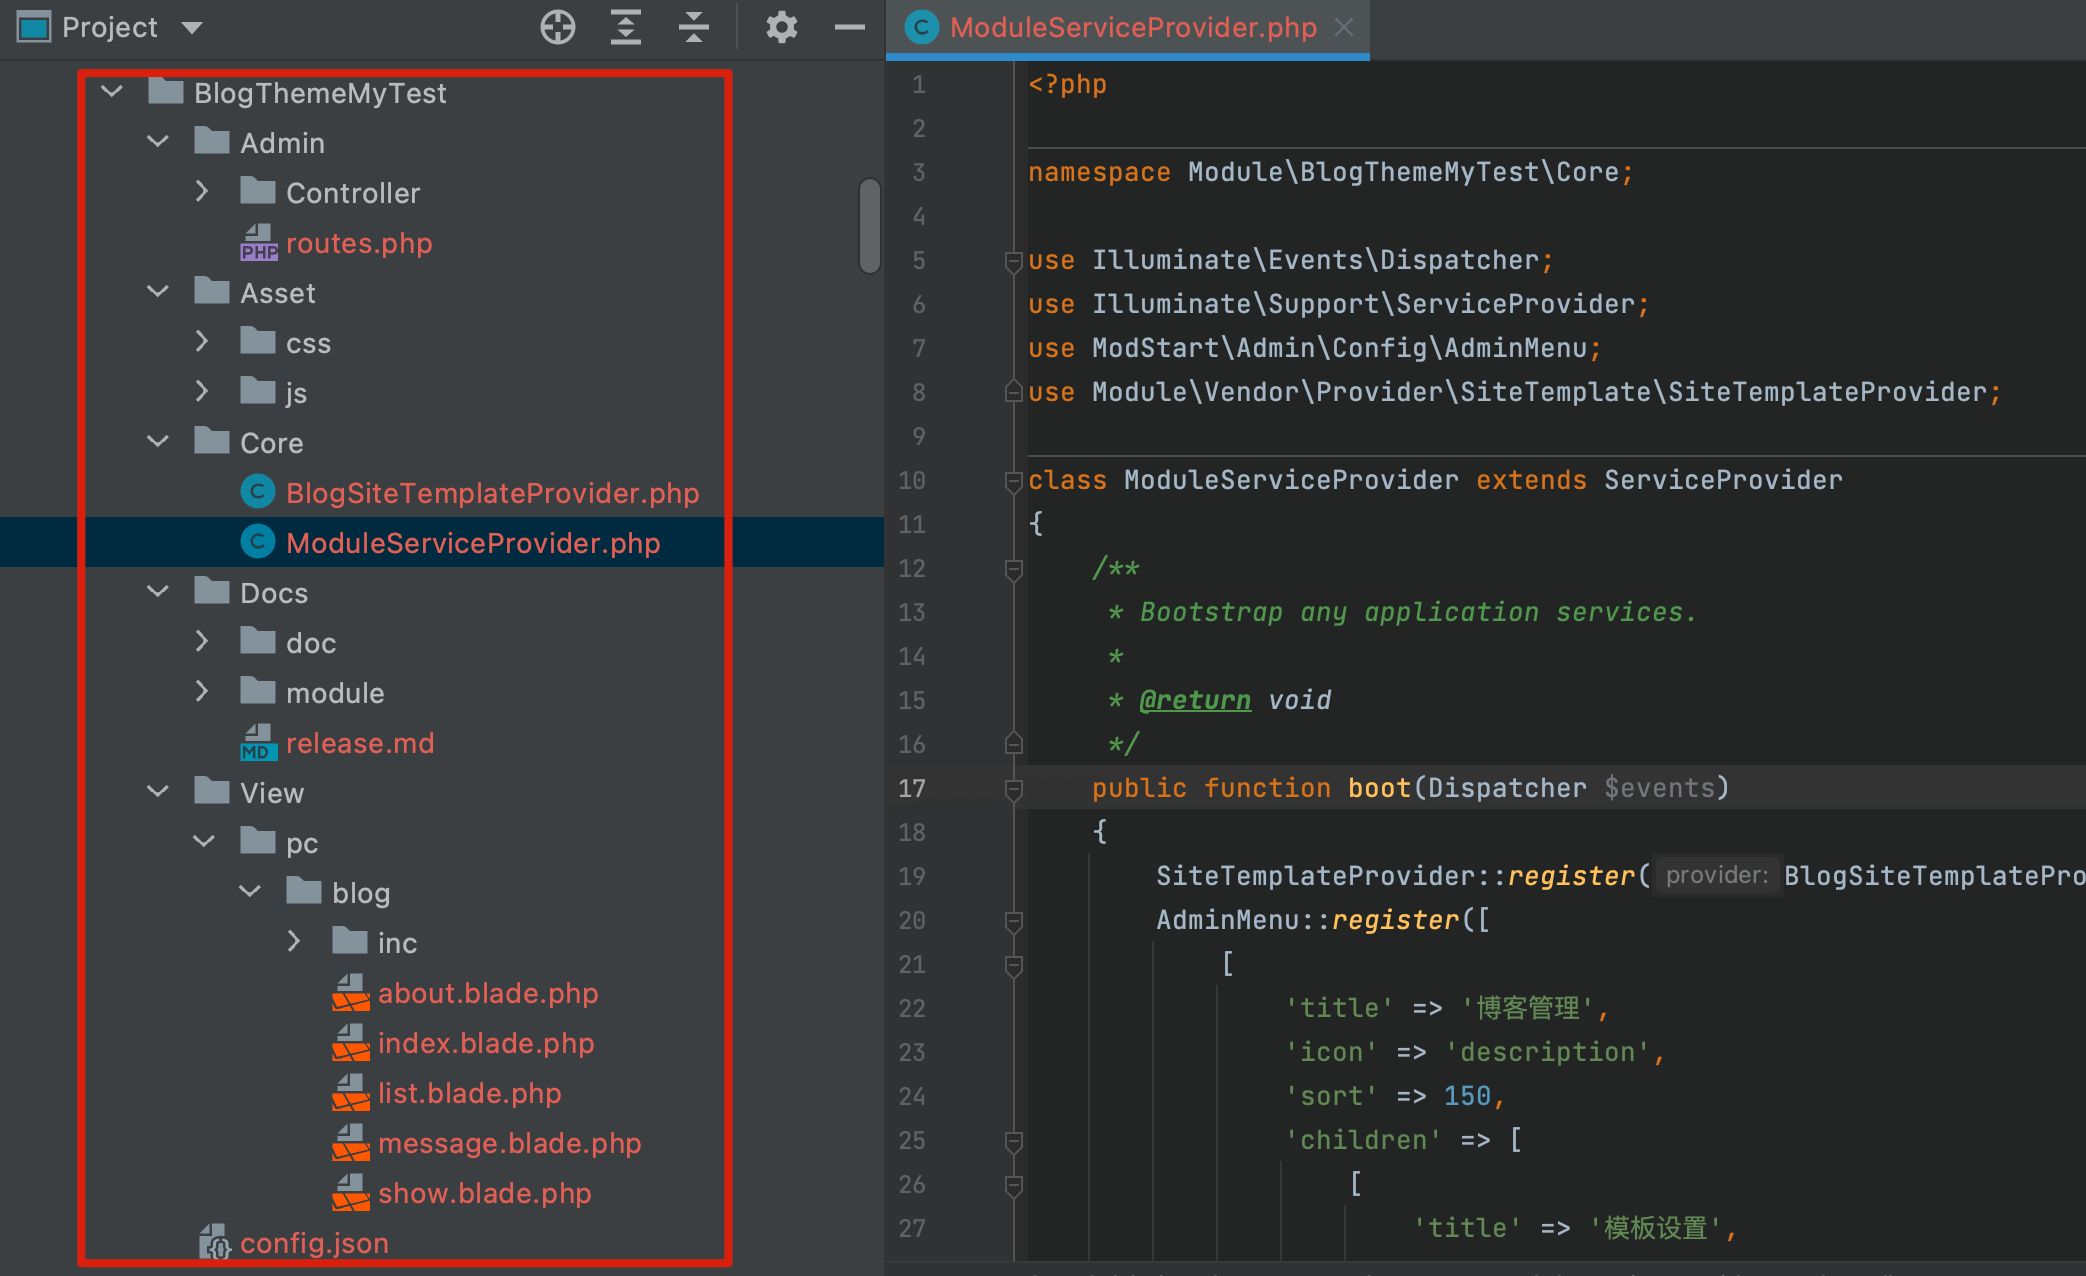
复制静态HTML模板中的所有静态资源文件 template/static/ 到主题模块静态资源 module/BlogThemeMyTest/Asset 中。
如,静态HTML模板结构为
└─ template/                        → 模板根目录
    └─ static/
        ├─ css
        │   └─ style.css
        ├─ js
        │   └─ script.js
        └─ image
            └─ image.jpg
复制到模块静态资源结构为
└─ module/BlogThemeMyTest/Asset/    → 模块静态资源结构
    └─ static/
        ├─ css
        │   └─ style.css
        ├─ js
        │   └─ script.js
        └─ image
            └─ image.jpg
2.3.2) 做静态资源软连
开发阶段为了模块开发方便,访问的静态资源使用软连链接到模块静态资源文件夹。先删除 public/vendor/BlogThemeMyTest/ 目录,然后执行以下命令完成软连创建。
php artisan modstart:module-link-asset BlogThemeMyTest
这样,访问路径 http://example.com/vendor/BlogThemeMyTest/css/style.css 路径会定向到文件 module/BlogThemeMyTest/Asset/css/style.css。
2.3.3) 完成模板开发
复制以下页面到模块,并完成页面功能开发。
list.html → module/BlogThemeMyTest/View/pc/blog/list.blade.php
show.html → module/BlogThemeMyTest/View/pc/blog/show.blade.php
tags.html → module/BlogThemeMyTest/View/pc/blog/tags.blade.php
about.html → module/BlogThemeMyTest/View/pc/blog/about.blade.php
message.html → module/BlogThemeMyTest/View/pc/blog/message.blade.php
index.html → module/BlogThemeMyTest/View/pc/blog/index.blade.php
要面开发主要需要以下两个步骤:
① 完成页面所有静态资源的路径替换
将所有路径 path/to/static 替换为 @asset('vendor/BlogThemeMyTest/path/to/static')

script

替换为


css

替换为


图片

替换为
② 完成页面变量替换和内容渲染
该部分每个页面需要参考个页面可用变量完成开发和内容替换。
!!!include(docs/.vuepress/include/module-publish.md)!!!